

How to knit your own Halloween pumpkin!

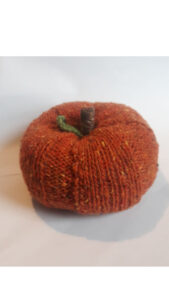 The lovely Rebecca has turned her hand to pumpkin knitting this autumn and was kind enough to share her process with us. We would love to see your pumpkins – please do share them with us!
1. Knit a rectangle roughly 28cm wide and 20cm tall in a rib structure that has 8 sections – 4 sections will be face stitches and 4 sections will be reverse stitches. These will make your “segments” to the pumpkin. We worked on a 7guage machine but you can use whatever needle size you like and make whatever rectangle size you like! We recommend you leave a long tail when you cast on and cast off to use to sew the pumpkin together later on. Of course you can knit your rectangle any way you like, no machine is required!
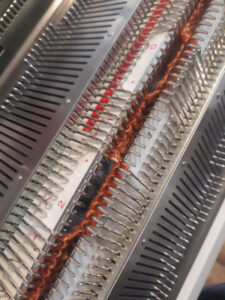
2. On your cast on edge/welt edge take the yarn tail in a needle and then thread a gathering stitch sporadically in and out. Finish on the opposite corner and then gently pull the fabric into a gather. 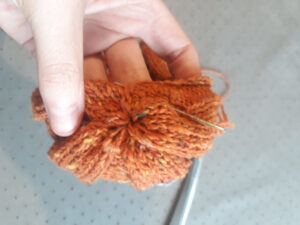
3. Using the same thread and needle from the gathering stitch, sew the two sides together to make a tube with a closed end. 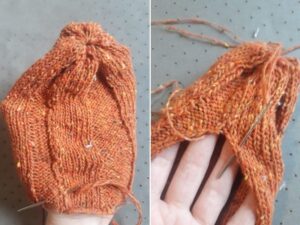
4. Use stuffing to fill the inside of the tube. The more stuffing the better but you can use your eye to guess how much to add in – enough to make the pumpkin look plump but not so much that you can’t close the pumpkin. 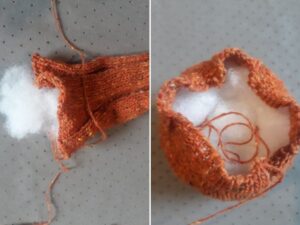
5. Take your needle and thread and create a gathering stitch. Gently pull the fabric into a gather. 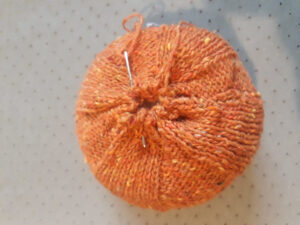
6. The pumpkin will be very round and a little misshapen at this point. Use your hands to gently plump and shape your pumpkin into a more rounded and squat shape. To create the bottom and top “dimples” of the pumpkin, pass your needle and thread from one side to the other while gently pulling. Take care not to pull too hard so that your thread breaks. Sew the thread in and hide it inside the pumpkin once you are done. 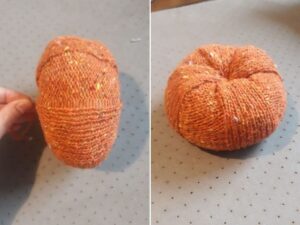
7. For the leaf and stalk you will need to knit a small green triangle and a small brown square. 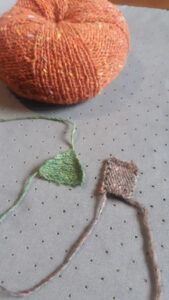
8. For the leaf, tie one tail into the leaf fabric and use the other one to attach to the centre of the pumpkin. 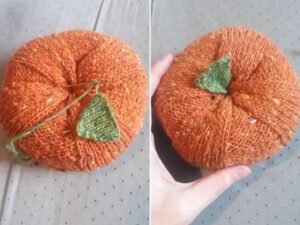
9. For the stalk, use one tail to sew the two edges together to make a tube. Use the other tail to attach to the centre of the pumpkin. We have also seen people use painted rolled up card, real twigs and even a stick of cinnamon for this!
10. Lastly, your new friend needs a face. Use some black yarn to embroider a little face onto your pumpkin and give him/her/it a name. Our new friend is called Gerald. 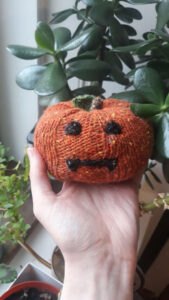
You can spice up this pumpkin recipe by using different coloured yarn, changing your needle size and experimenting with the size of your original rectangle. Remember that you don’t need to buy new stuffing – we used the insides of an old pillow. You can also use cut pieces of yarn, tissue paper, newspaper or shred some old t-shirts for stuffing. Why not give your friend a seasonal scent and spray him with a room spray or add some potpourri with his stuffing?
Good luck and happy Halloween!